You catch yourself in a window at thirty-something weeks and your first thought is not “let’s get a photo.” It’s the opposite. You feel huge and puffy and not quite like yourself, right at the exact moment you most want to remember this. The fix isn’t dropping ten pounds you don’t have or hiring someone. It’s pointing the camera at the bump instead of hiding it, and giving your hands one job. Here are twenty maternity photo ideas grouped by setup, each with the move that makes it work.
Why a bump is the one thing that’s actually hard to photograph
A camera freezes you, that’s true of any photo, and the full why-you-freeze breakdown lives in the photo poses guide. But a bump has a second problem on top of that. The camera doesn’t know where the story is unless you point at it.
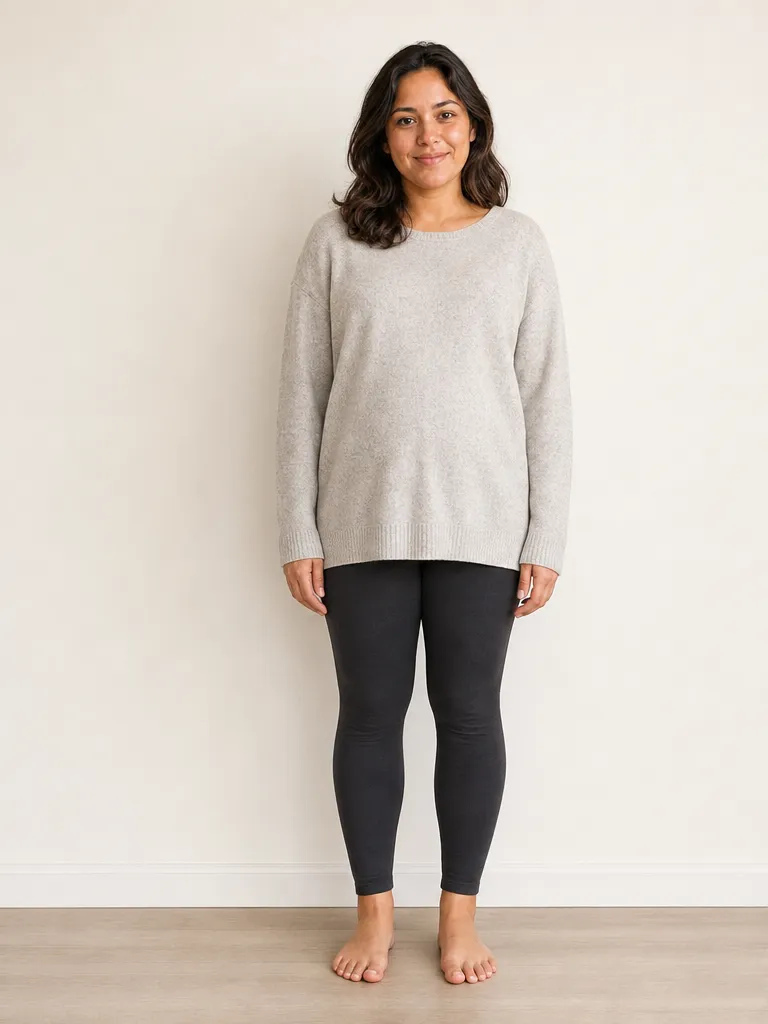
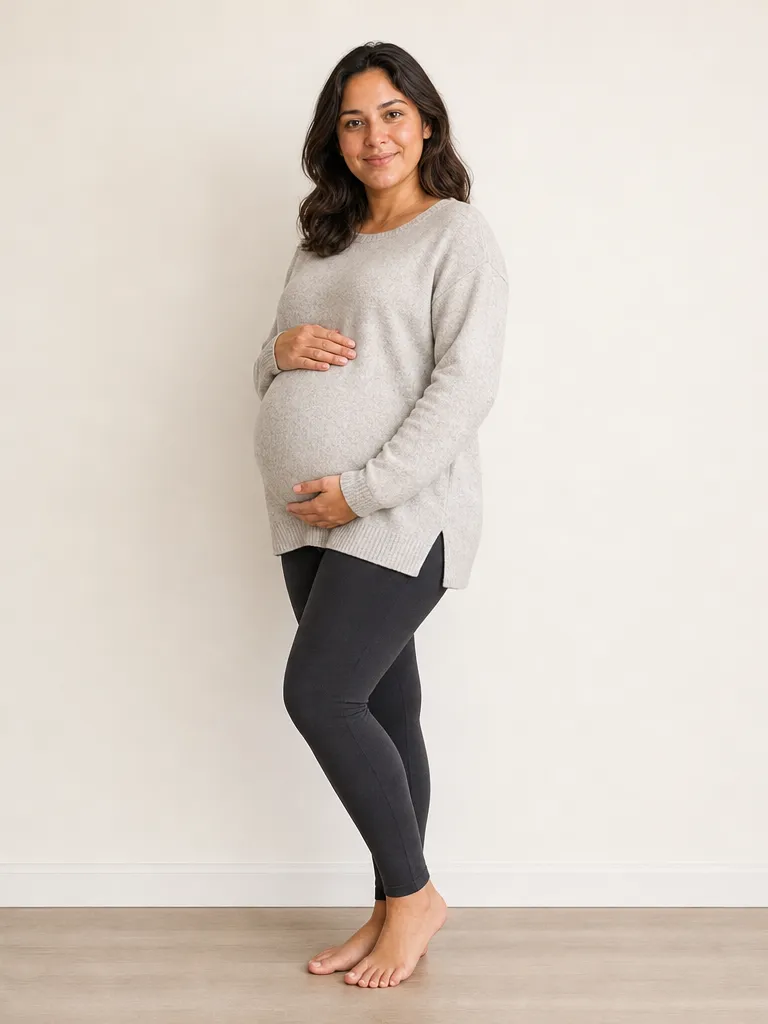
Here’s what I mean. When you stand square to the lens, the bump reads as just… you, a little rounder. The depth that makes it obviously a pregnancy gets flattened into the front of your body and vanishes. Turn thirty degrees to the side and the same belly becomes a clean curved silhouette, and suddenly the photo is about the one thing you wanted it to be about. What you wear pulls the same lever: a fitted knit and a flowing dress read the bump completely differently, which is its own decision, covered in what to wear for maternity photos.
The hands are the other half. Most of us, told to “pose,” press both palms flat against the front of the belly, and it reads less like tenderness and more like you’re bracing through a cramp. The cradle is the opposite move: one hand resting under the curve, one resting on top, fingers relaxed, framing the bump the way you’d frame a face. You’re not holding it. You’re pointing at it.
And the timing matters more than it does for any other photo. Photographer Nataly Danilova calls 30 to 34 weeks the sweet spot: the bump is unmistakably round, but you can still move without feeling like a piece of furniture. Earlier and it can read smaller than you feel. Much later and you’re tired and swollen and over it.
That single switch, turn and frame, is what every idea below is built on.
Maternity poses and photo ideas, by setup
You don’t need all twenty. Find the setup that’s actually realistic for you this week, steal two ideas, and shoot a burst of each.
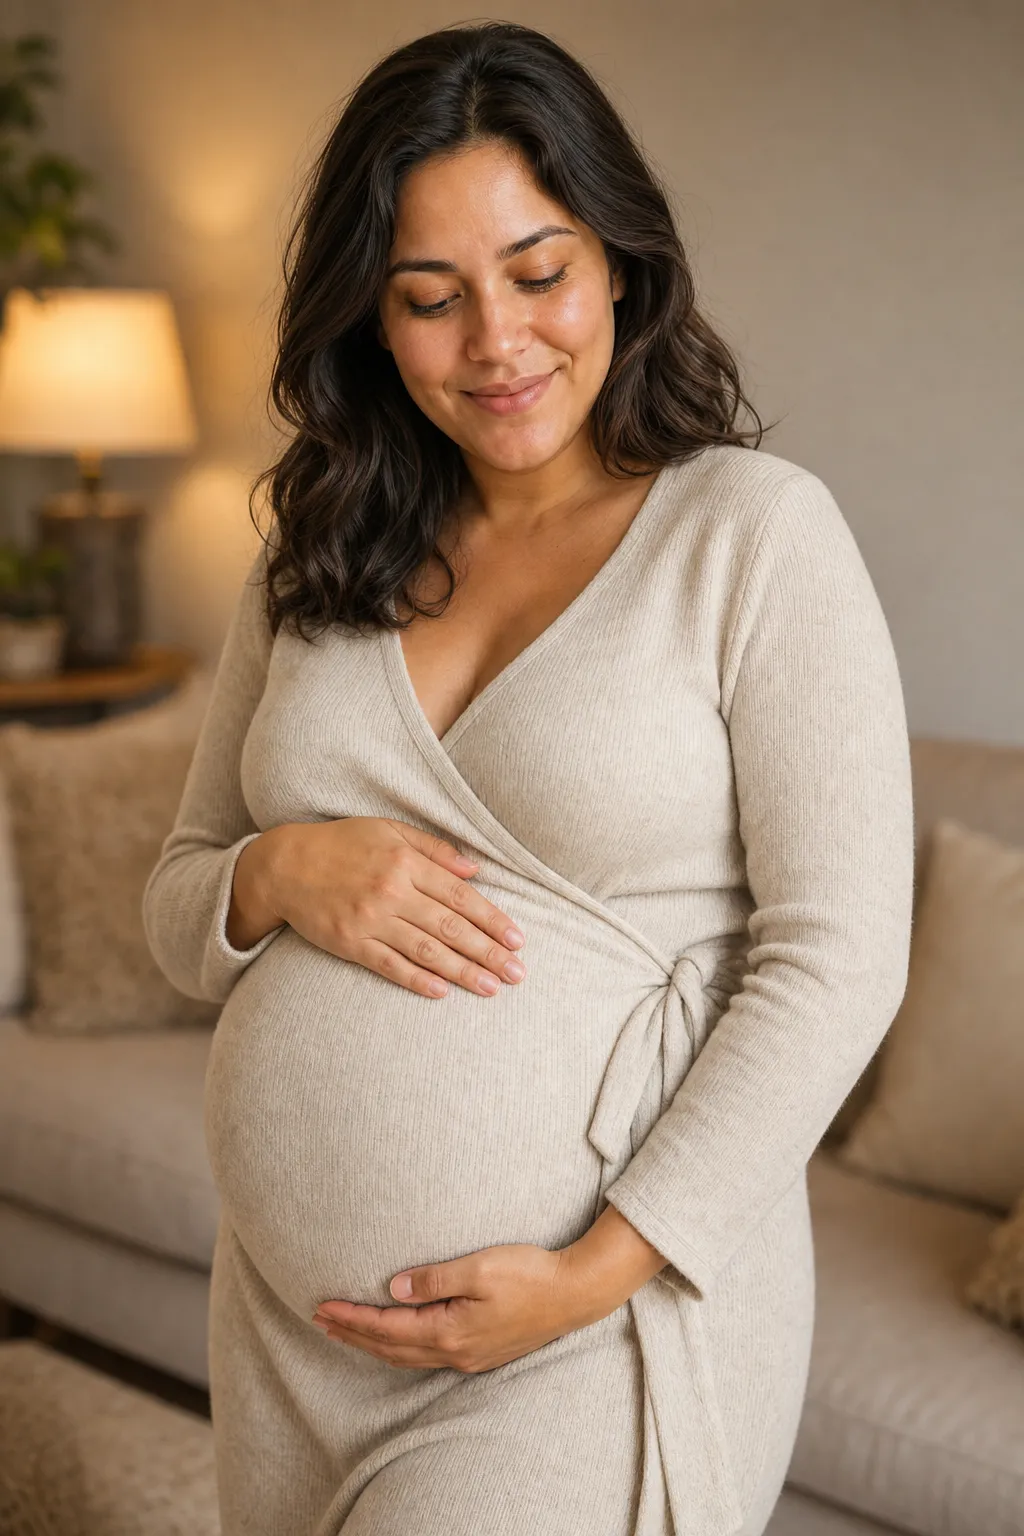
Bump-forward solo (the simplest flattering shot)
If you only take one photo, take this one. It works in any room with a window.
More to try here: a three-quarter turn with one hand low and one shoulder dropped, a back-to-the-window shot so the light wraps your hair, or a simple standing portrait where you just cradle and breathe out between frames.
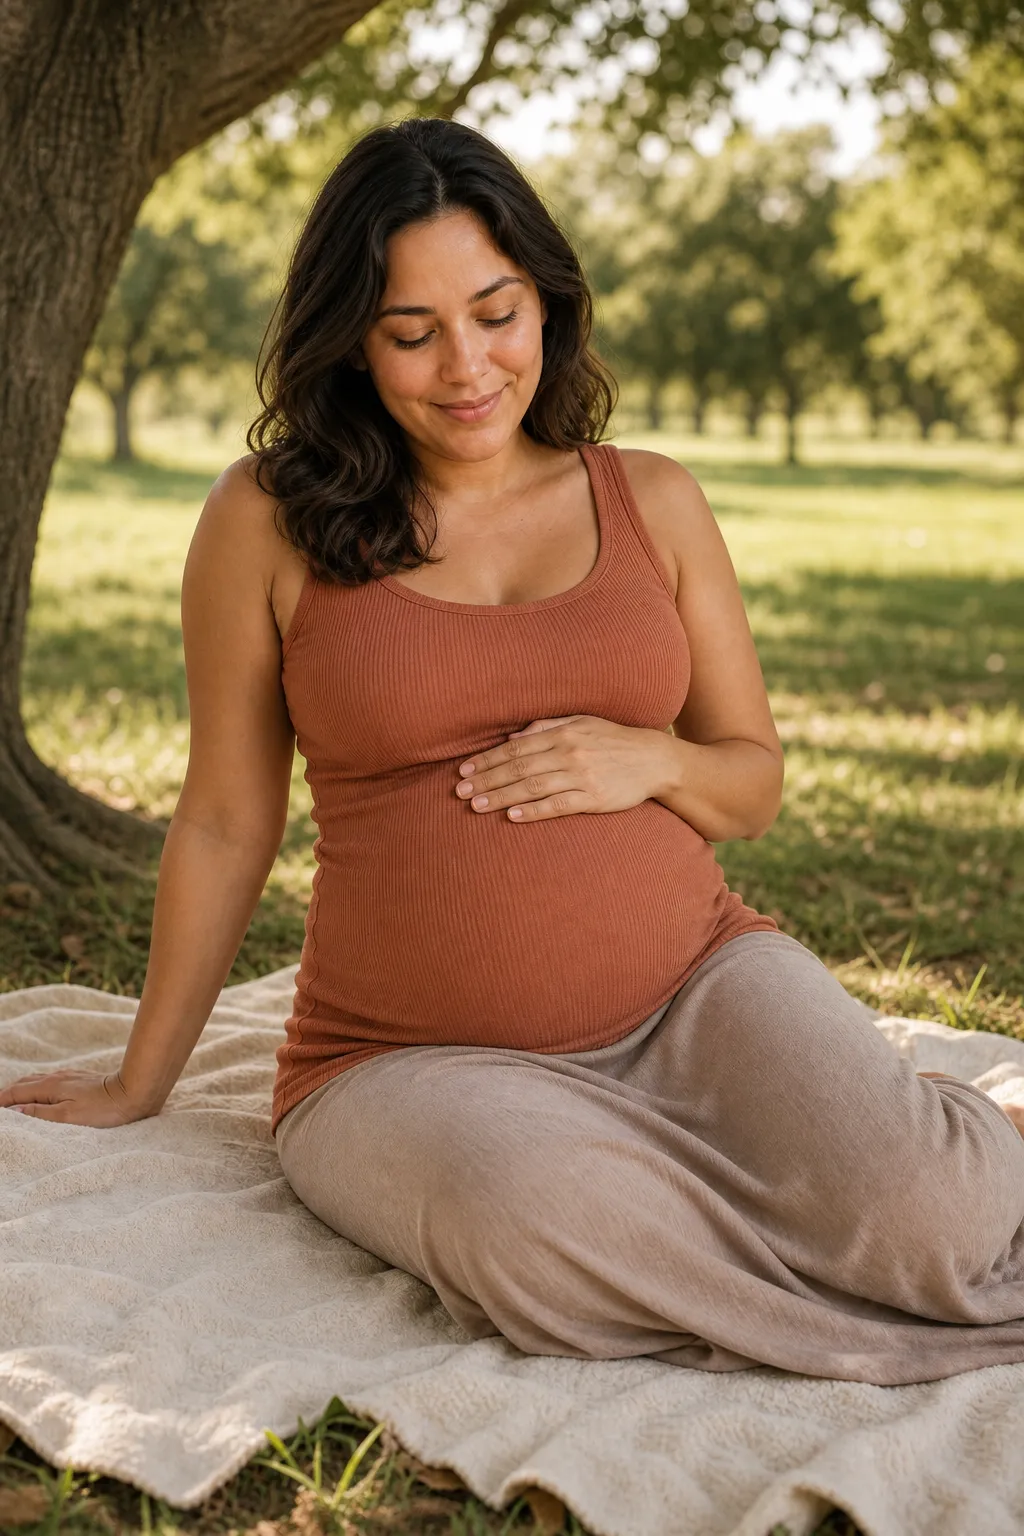
Hands on the belly (the answer to “what do I do with my hands”)
This is the question everyone asks, and the maternity answer is specific: frame the curve, don’t flatten it.
More to try here: both hands forming a soft heart shape low on the belly, one hand holding a tiny pair of shoes against the bump, or your partner’s hand and yours overlapping on the same spot.
With your partner (give everyone’s hands a job)
The stiffness in couple bump photos is always the partner not knowing where to stand. Put them behind you.
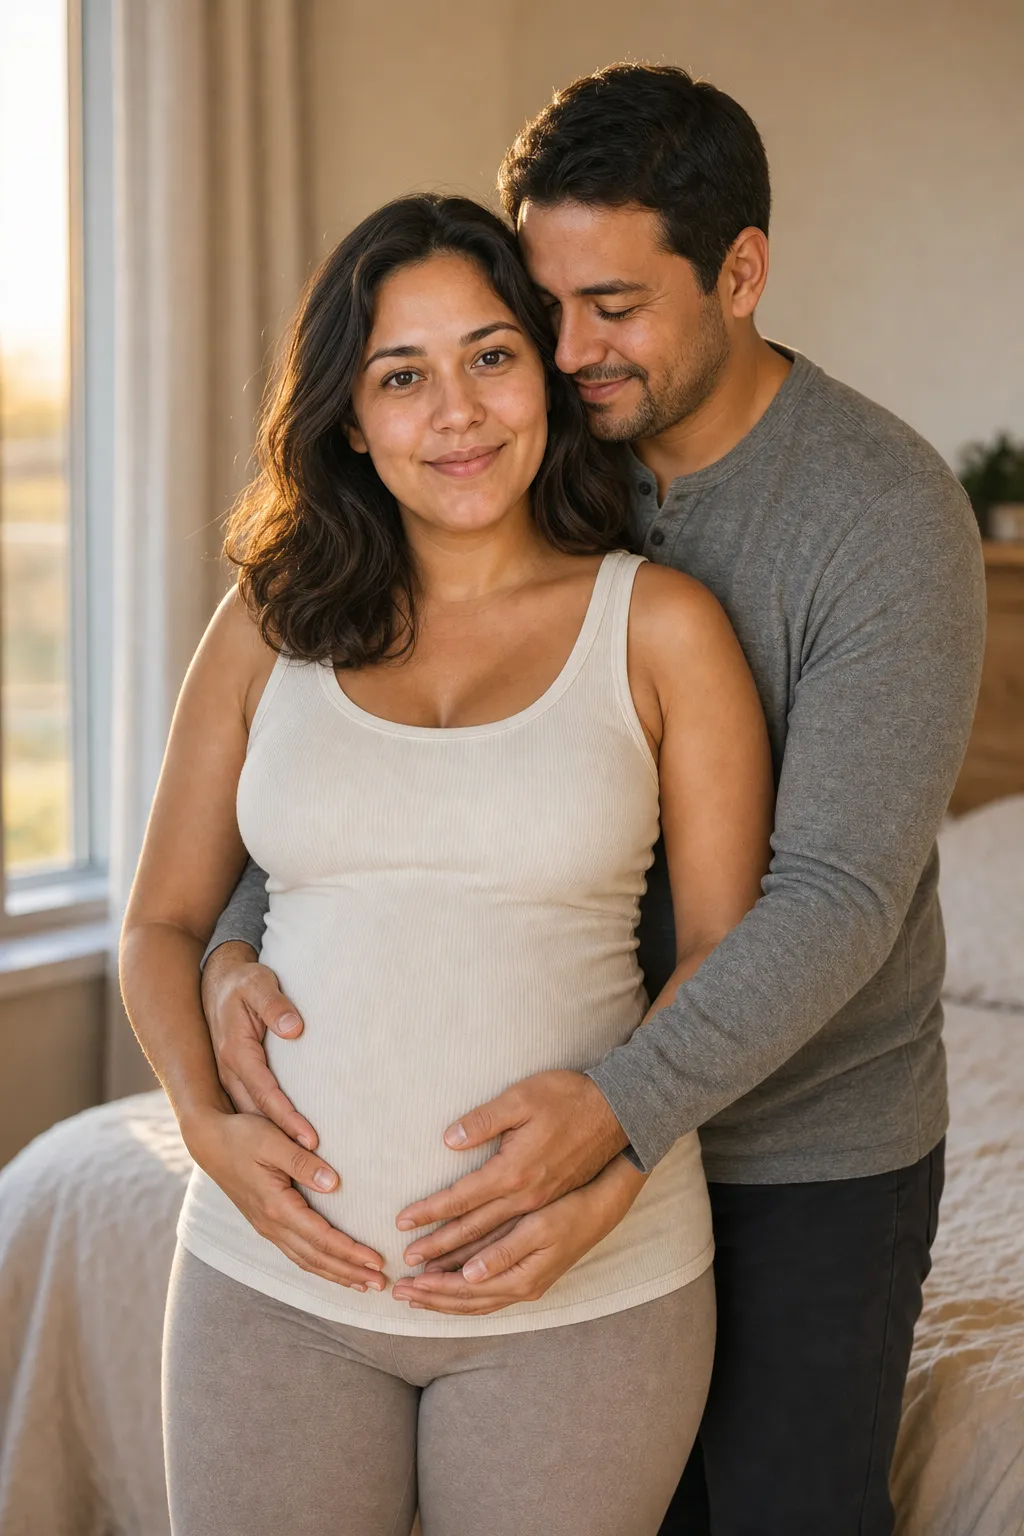
More to try here: face to face with the bump between you and foreheads touching, your partner kneeling to kiss or talk to the belly, or the two of you walking and one of you glancing back. If you want more partner ideas that don’t go stiff, the whole couple poses guide is built on the same trick.
With your older kids or the dog (let them do the work)
You can’t direct a toddler or a dog, which is exactly why these come out real. Give the kid a task and get out of the way.
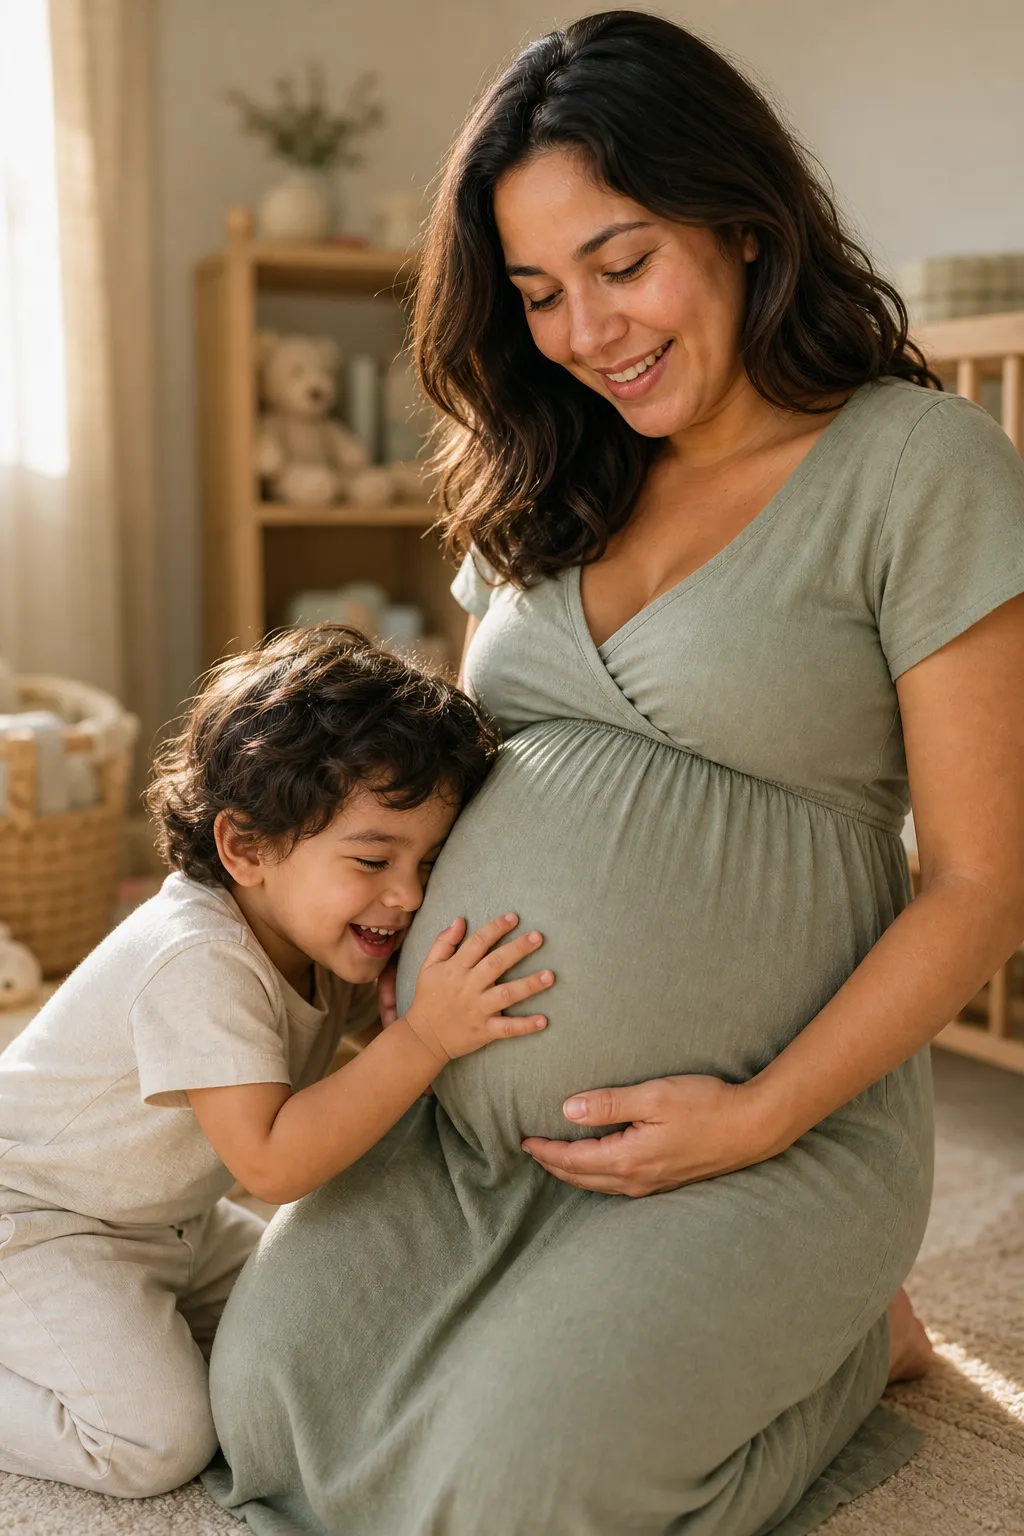
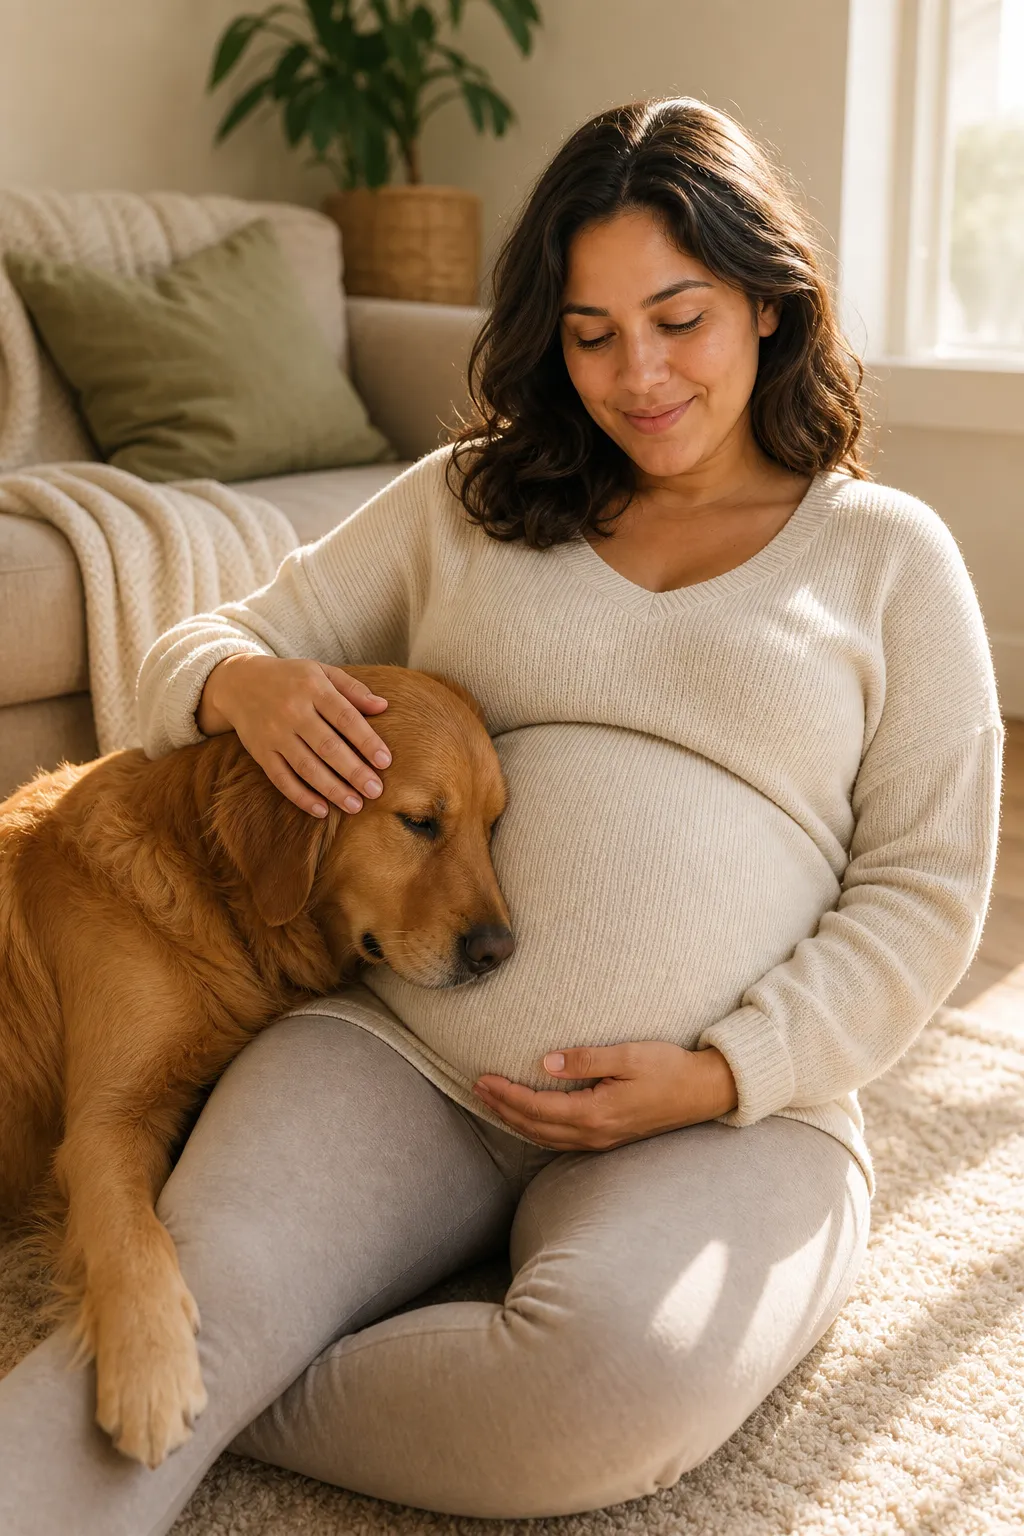
More to try here: an older kid kissing the bump, a sibling holding the sonogram up next to it, or everyone piled on the bed in pajamas with no instructions at all.
If any of this makes you want to try the one-selfie version, you’ll probably find a use for it beyond the bump. New subscribers get a small kit of copy-ready prompts (it’s brand-photo and headshot stuff, honestly a bit sideways from maternity, but it’s the same one-photo trick), and after that it’s one short AI move a week. You can grab it here.
Cozy at home (the lowest-stakes place to start)
If a real shoot feels like too much, this is the antidote. Nobody’s watching and you can delete every bad one.
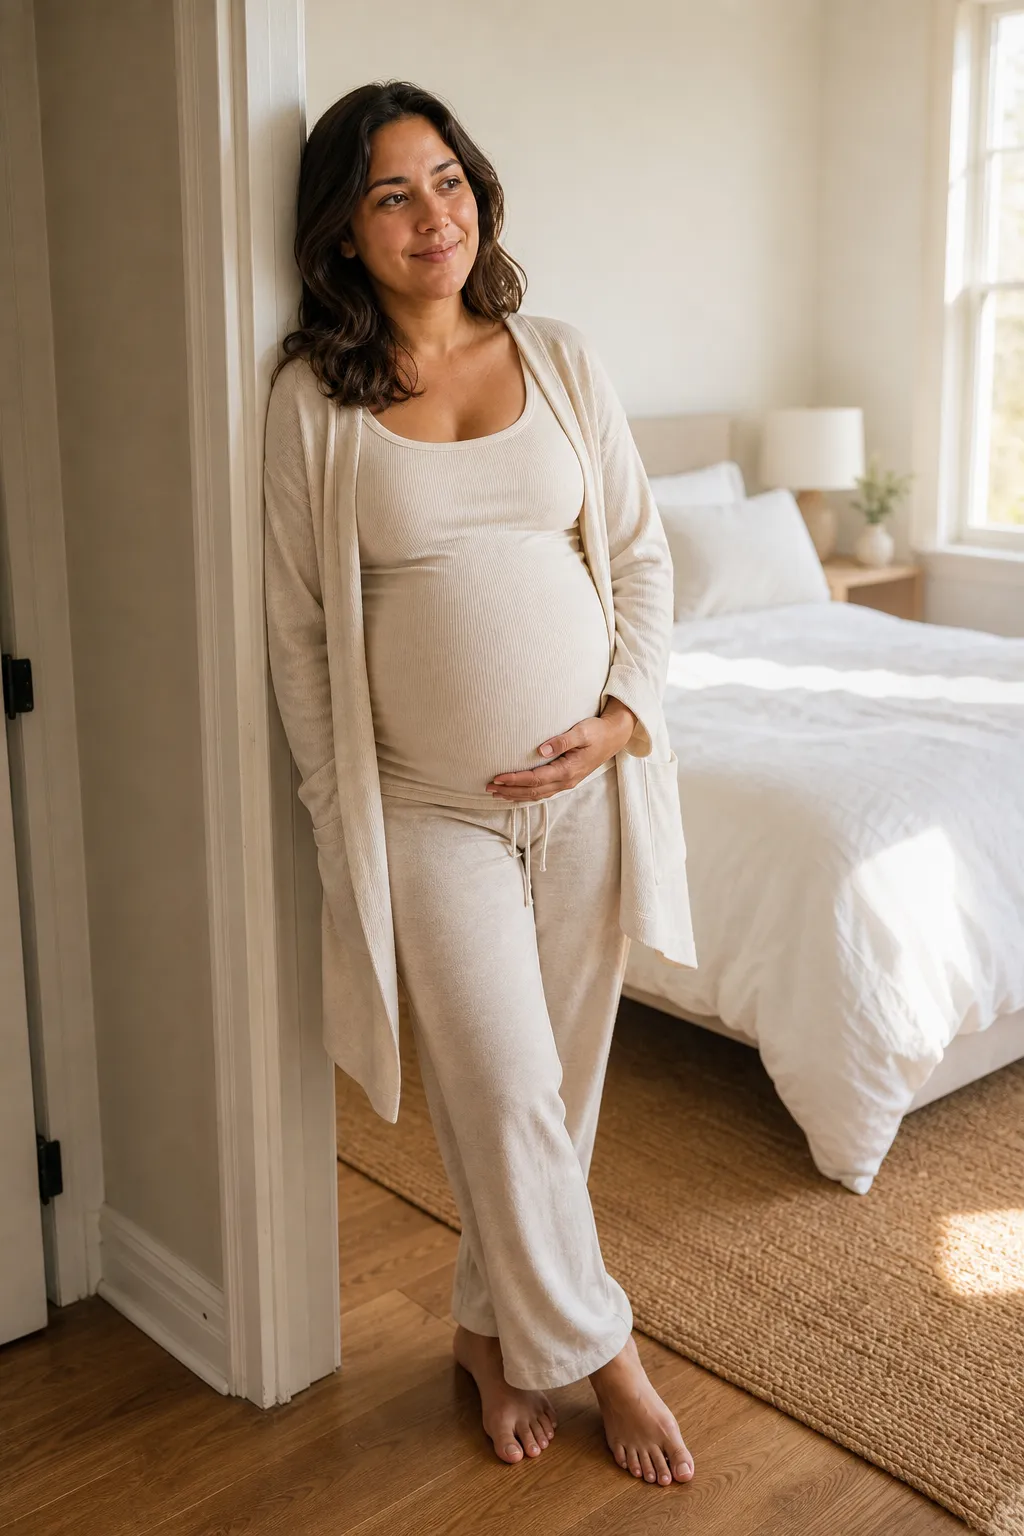
More to try here: sitting in the half-built nursery, in bed with morning light and a cup of tea on the bump, or in a plain fitted top in the bathroom mirror, which sounds basic but is how half of us actually document this.
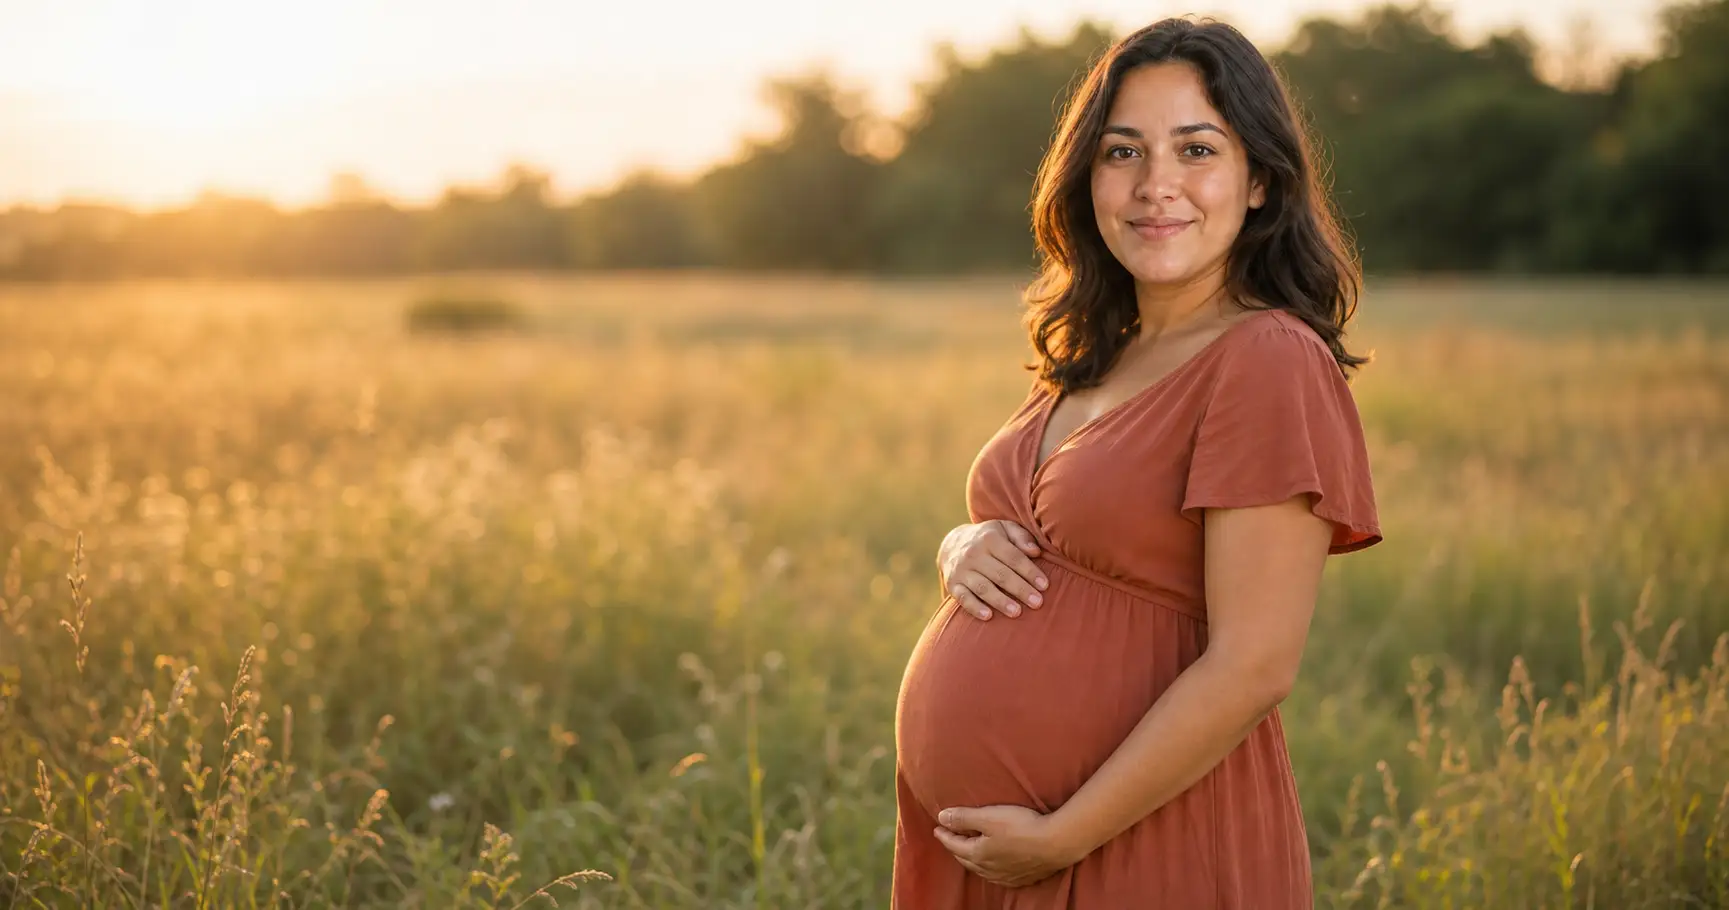
Golden-hour outdoors (the dreamy one)
Walking gives you the motion for free, which is why outdoor bump shots come out so soft. You just need twenty minutes before sundown.
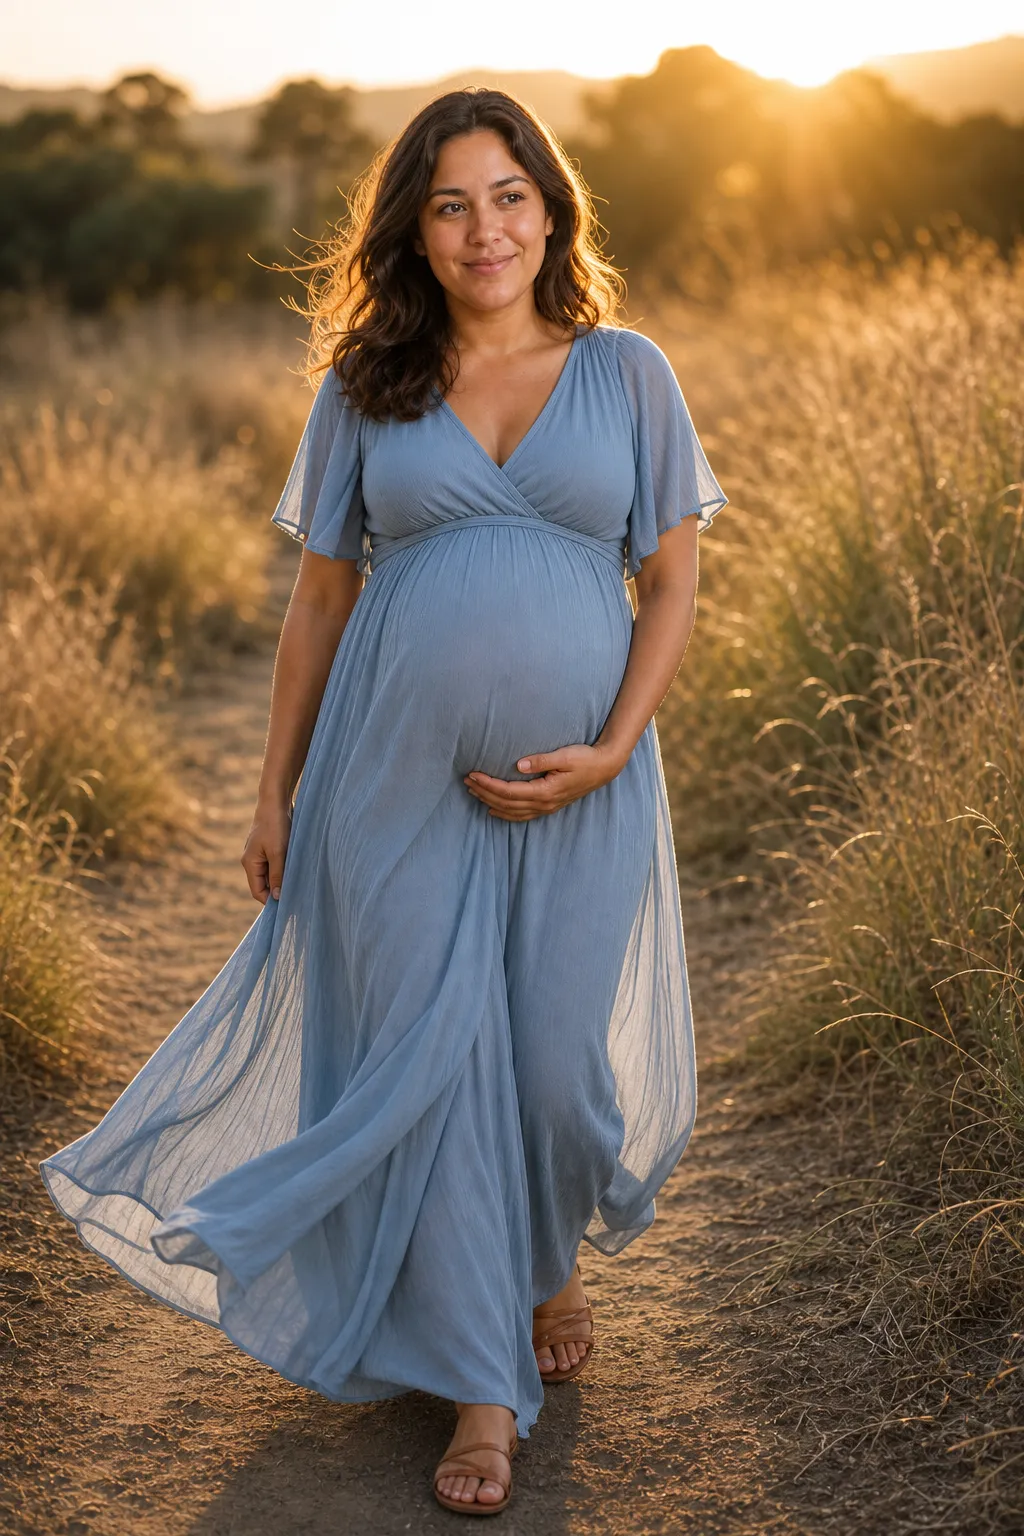
More to try here: standing in tall grass facing the sun, leaning back against a tree with the bump forward, or holding the bump with both hands while the wind does the rest.
A few things to know before you shoot
This is the part nobody tells you until you’re already standing there.
The window is real, but it bends. Nataly Danilova’s 30-to-34-week guideline is the default, but The Every Mom’s photographer guide nudges first-time moms and anyone carrying twins toward 28 to 32 weeks instead, because you’ll either show later or run out of comfort sooner. Past about 36 weeks, swelling in the hands and face starts to show up on camera, so if you want the softest version of yourself, book on the earlier side rather than racing the due date.
A tiny one that surprised me: that same guide points out photographers shoot close-ups of your hands resting on the bump, so chipped nail polish ends up weirdly distracting in half the keepers. A two-minute fix the night before saves a bunch of photos.
And go for comfort over duration. Skip lying flat on your back for long stretches, it gets uncomfortable fast this late, and any pose you have to grit your teeth to hold will look like you’re gritting your teeth. None of this is about looking perfect. It’s about feeling enough like yourself to actually enjoy the twenty minutes.
No shoot happening? Put yourself in any of these anyway
Here’s where the math gets uncomfortable. A maternity session isn’t cheap: according to the photography studio iJ Photo, prices run anywhere from $250 to $2,000, with a standard one-to-two-hour session in most cities averaging somewhere around $500 to $800. That’s a lot to spend during the exact months you’re buying a crib and a car seat.
So if a shoot isn’t in the budget, or you’re on bed rest, or you blinked and the window closed, there’s a shortcut. You can upload one clear selfie and generate yourself into the pose and the setting, the golden-hour field, the cozy nursery, whichever one above you wanted, with no stranger asking you to “relax.” It keeps your real face, so it still reads as you at this exact moment, not some glossy model who vaguely resembles you. Same ideas as everything above. You’re just skipping the part where someone has to be there to press the button.
FAQ
Q: What week should you do maternity pics?
A: Most photographers point at 30 to 34 weeks, when the bump is clearly round but you can still move comfortably. If it’s your first baby, or you’re carrying twins, lean a little earlier, closer to 28 to 32 weeks, because you’ll either show later or get uncomfortable sooner. The real rule is shoot on a day you have the energy to enjoy it.
Q: What poses should be avoided during pregnancy?
A: Skip anything that has you lying flat on your back for long, since it gets uncomfortable fast late in pregnancy, and skip poses that hide the bump behind a baggy layer or a squared-up, flat-to-the-camera stance. Past about 36 weeks, swelling in the hands and face starts to show, so if you want the softest version of yourself, book a little earlier rather than pushing to the very end.
Q: How do you pose a baby bump to make it look good?
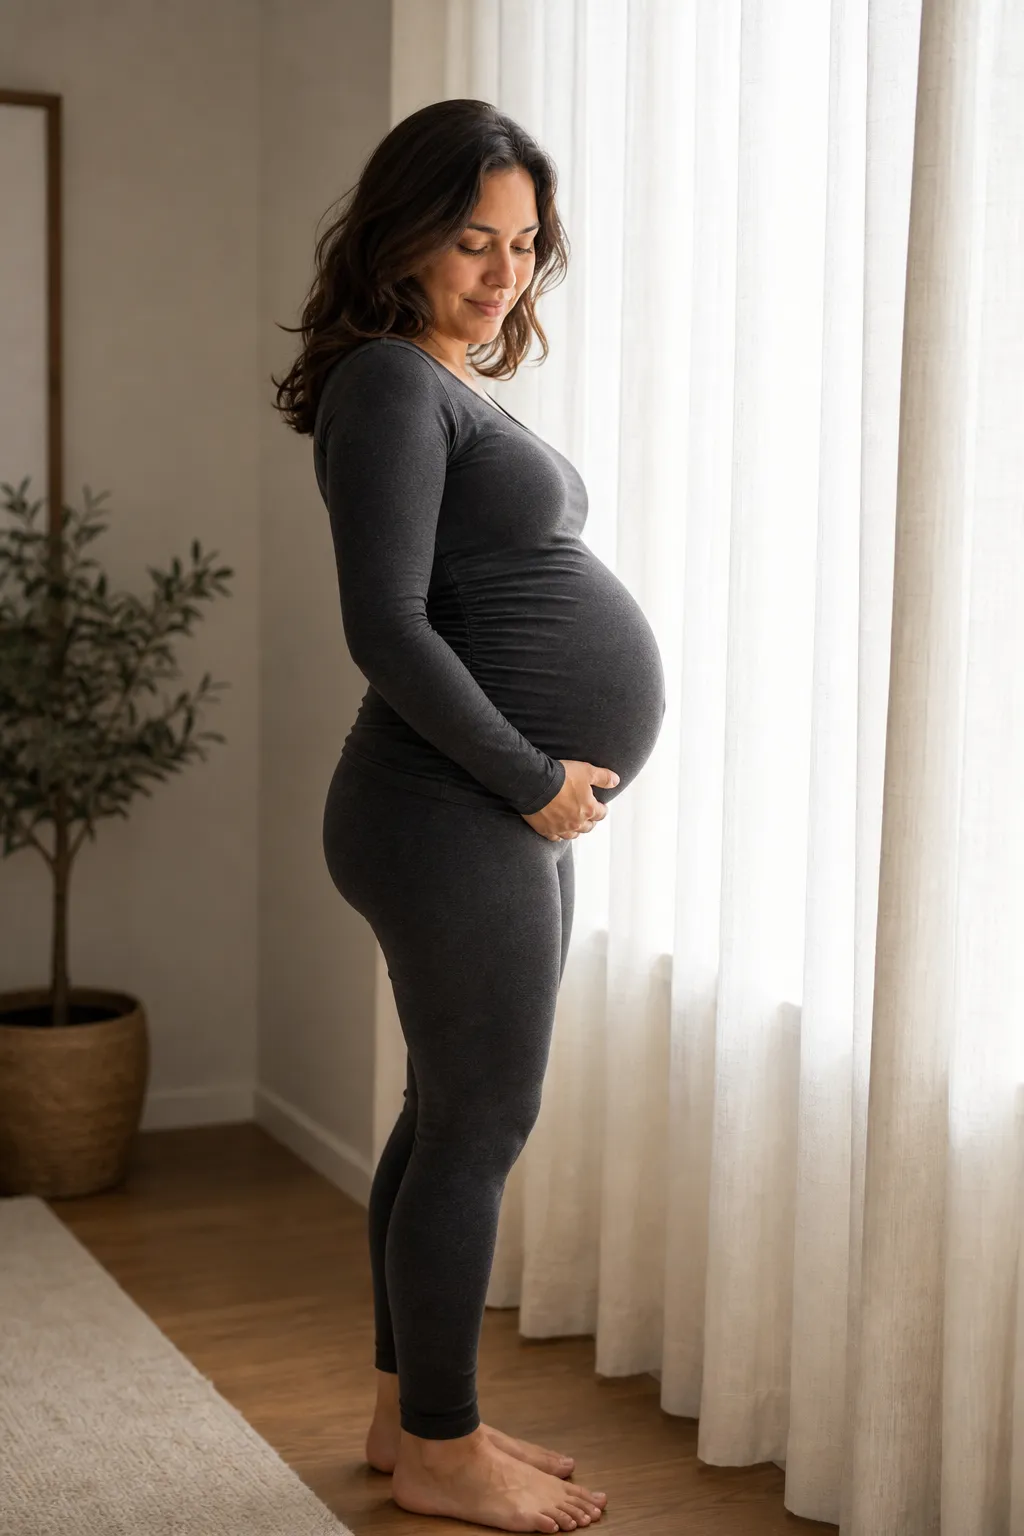
A: Turn your body to the side so the bump reads in profile instead of head-on, put your weight on your back foot, and let your hands frame the curve from above and below instead of pressing flat against it. Then do a small thing, sway, breathe out, look down at the belly, so the photo catches a moment instead of a hold.
Q: How can I take maternity photos at home without a photographer?
A: Prop your phone chest-high near a window, set a ten-second timer, and shoot a burst while you do one small move. Or upload one clear selfie and generate yourself into the pose and setting, which is the only option that still works if you’re on bed rest, missed the window, or just don’t want a stranger asking you to relax.
Key Takeaways
- The thing that makes a bump hard to shoot isn’t your body, it’s that a head-on angle flattens the pregnancy out of the photo. Turn to the side and it becomes the subject.
- Frame the bump with your hands from top and bottom, fingers relaxed. Pressed flat reads like a cramp, not tenderness.
- Most photographers favor 30 to 34 weeks, or 28 to 32 for first-timers and twins (per Nataly Danilova and The Every Mom). Comfort beats pushing to the due date.
- Pick the setup that’s realistic this week. Cozy-at-home is the easiest start; golden-hour walking gives the softest results; let kids and dogs do the work.
- A real maternity session runs roughly $500 to $800 in most cities (iJ Photo). One clear selfie gets you the same poses for free when a shoot isn’t happening.
The photo outlasts the bump
You will not feel like yourself for a lot of these months, and that’s allowed. But the bump is gone in a few weeks, and the photo isn’t. Pick the one setup that doesn’t feel like too much today, turn to the side, frame the curve, and take the picture you’ll be glad past-you fought through the self-consciousness to get.