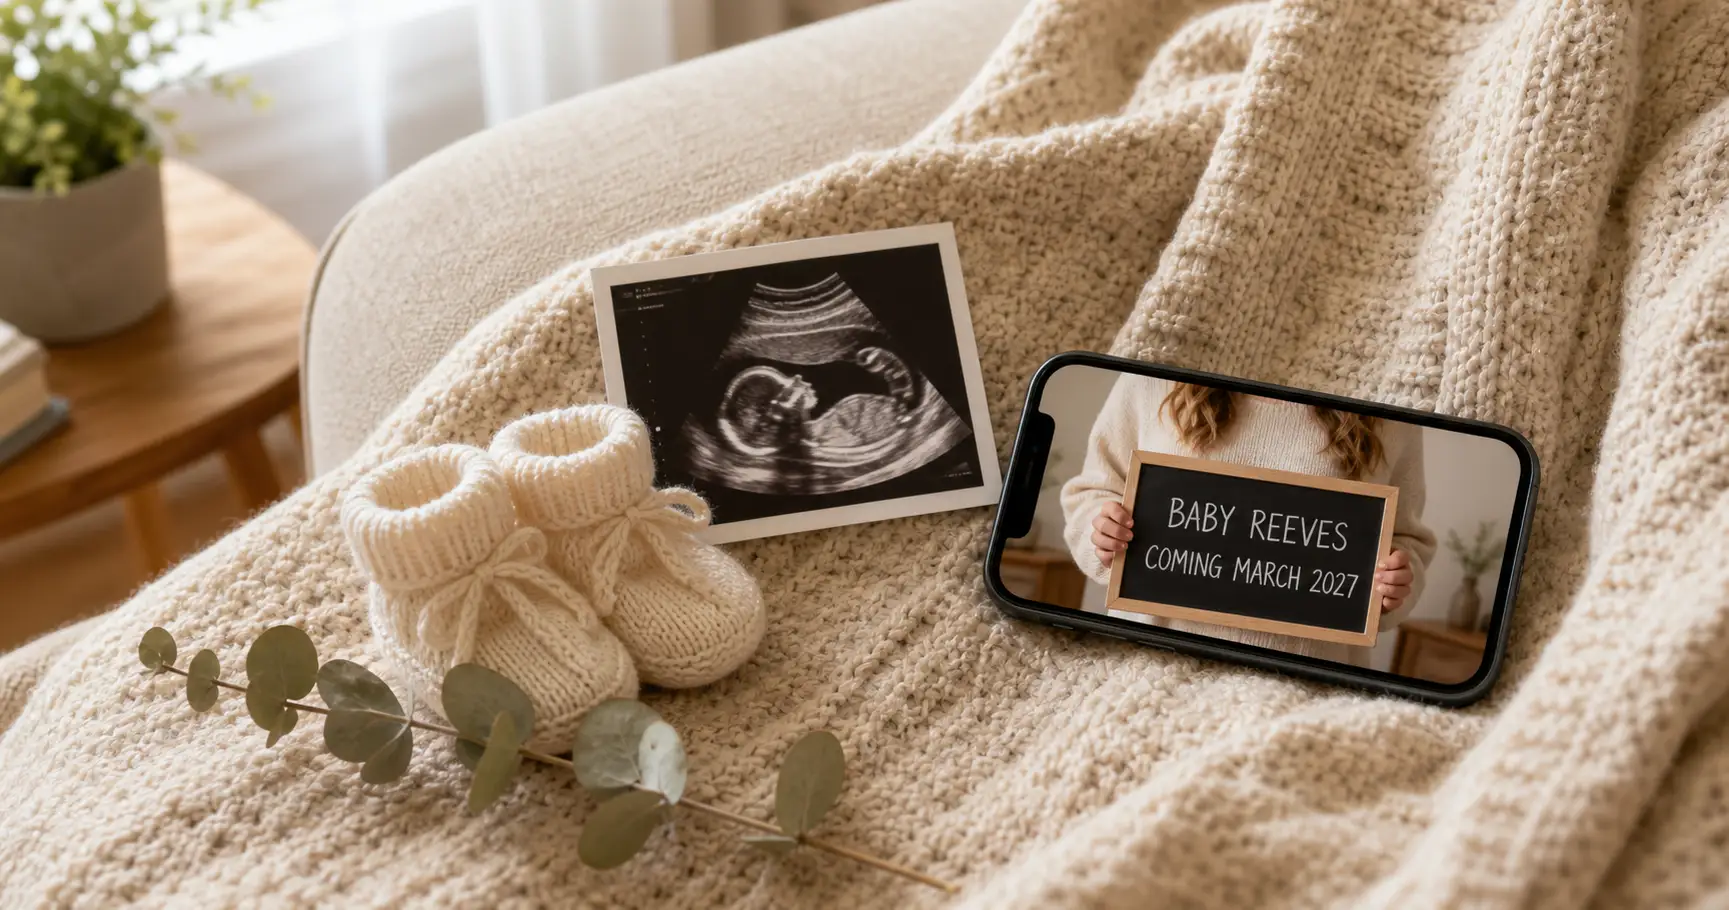
So you want to announce it, and you want it to look like something. Not a blurry mirror selfie, an actual announcement. The two things that usually stop people are a maternity session you never booked and a design app you don’t want to fight. Here’s the good news: you can make your own pregnancy announcement at home tonight, from one photo on your phone, and it’s the same four-step method every time. Pick a vibe, upload one clear photo, run one instruction, spell-check the words. Done.
I’ve made these from a single photo more times than I can count, and I want to be honest about which part is reliable. The face comes out looking like the real person, every time, as long as you hand the tool a clear photo to hold onto. The text on a sign is the part you double-check, because AI still occasionally fumbles a letter. Everything else is just picking what you want it to look like. So let’s do that first.
Step 1: Pick your vibe before you open anything
The mistake almost everyone makes is opening a tool first and staring at a blank box. Don’t. Decide the look before you touch anything, because the look is the only real decision you’ll make. It’s also the decision a photographer would charge you for: photography cost guides put a maternity session fee alone at roughly 250 to 800 dollars, before prints, and usually booked weeks ahead. You’re skipping that part and keeping the creative call for yourself.
There are really only a few families of announcement, and you already have a gut reaction to each. The flat-lay: a sonogram and a little card shot from above, no faces, the most forgiving one. The sign-in-hand: you by a window holding a chalkboard with your due month. The editorial: the soft, cinematic maternity portrait that looks like it cost money. And the funny one: a deadpan tee that says “Loading…” and a face that says yep. If you want the full menu with all ten styles laid out side by side, our pregnancy announcement photo ideas gallery is the mood board for that.
Here’s the part that surprised me the first time: all of these come from the same one photo. You upload your face once, and you change the scene, not the face. Same selfie, three completely different announcements.
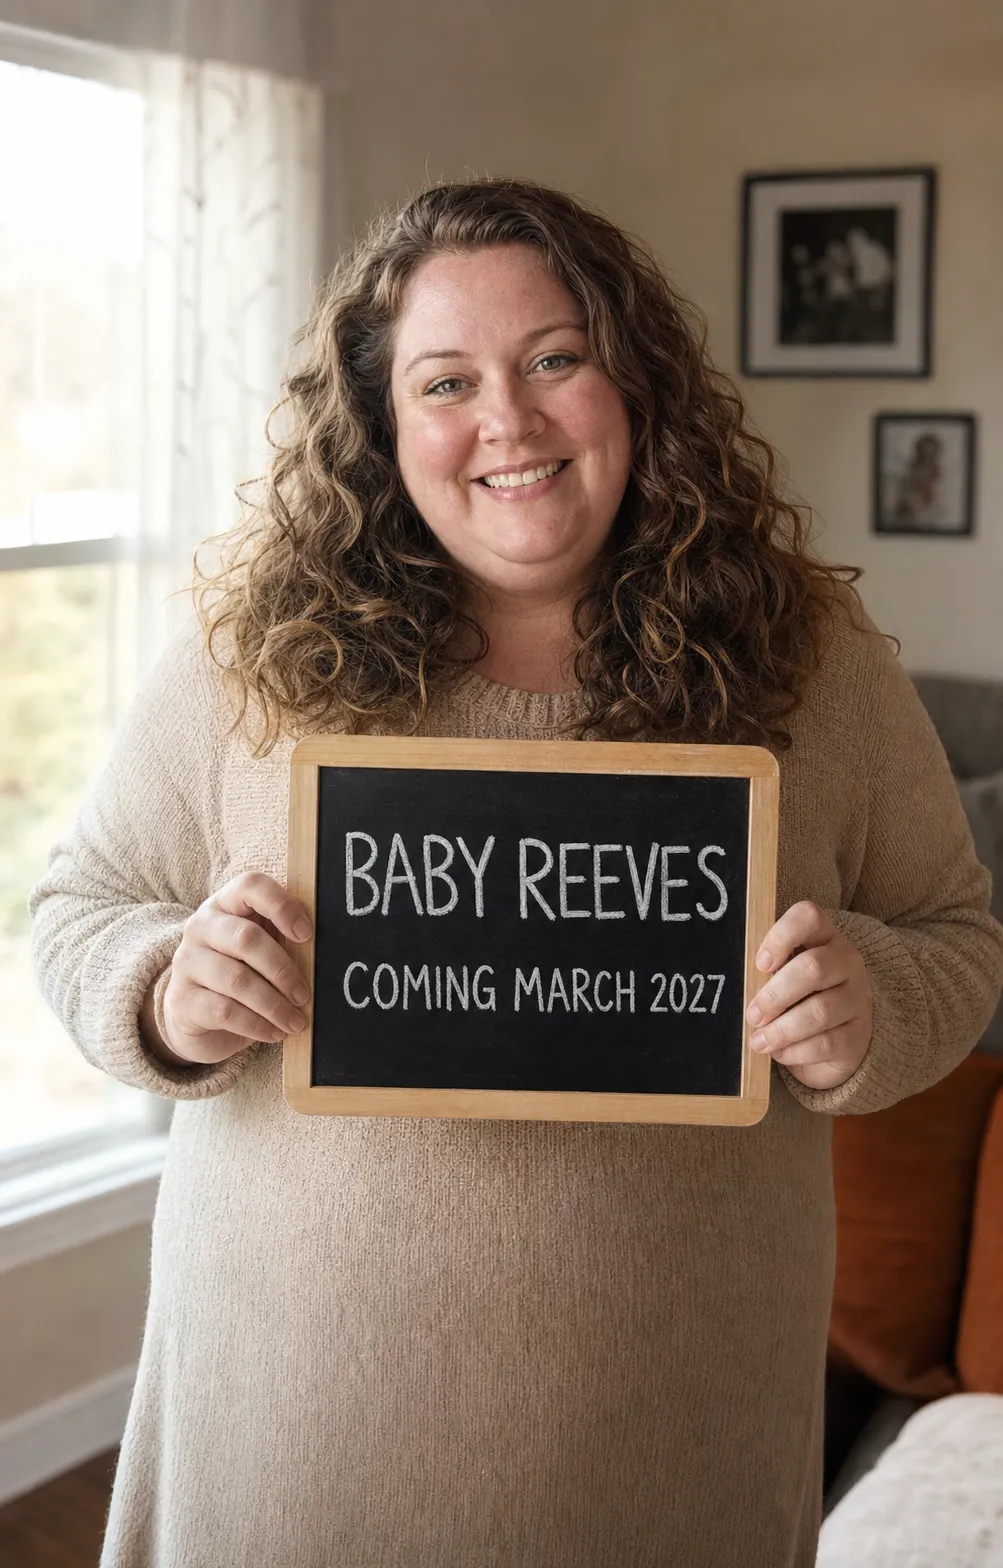
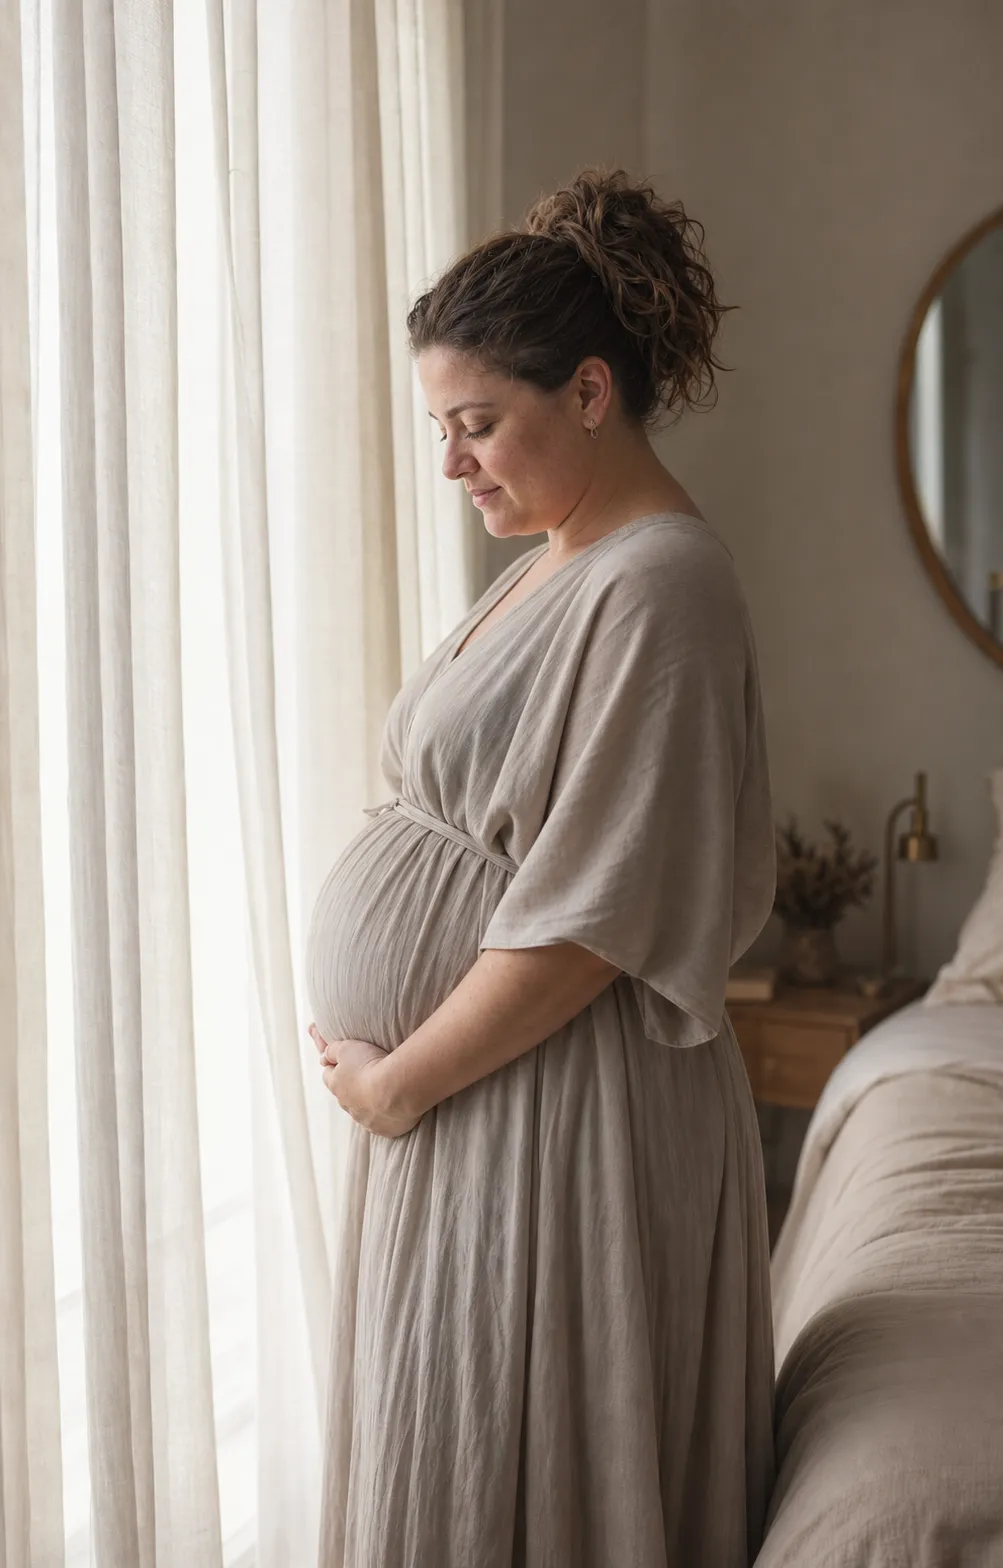
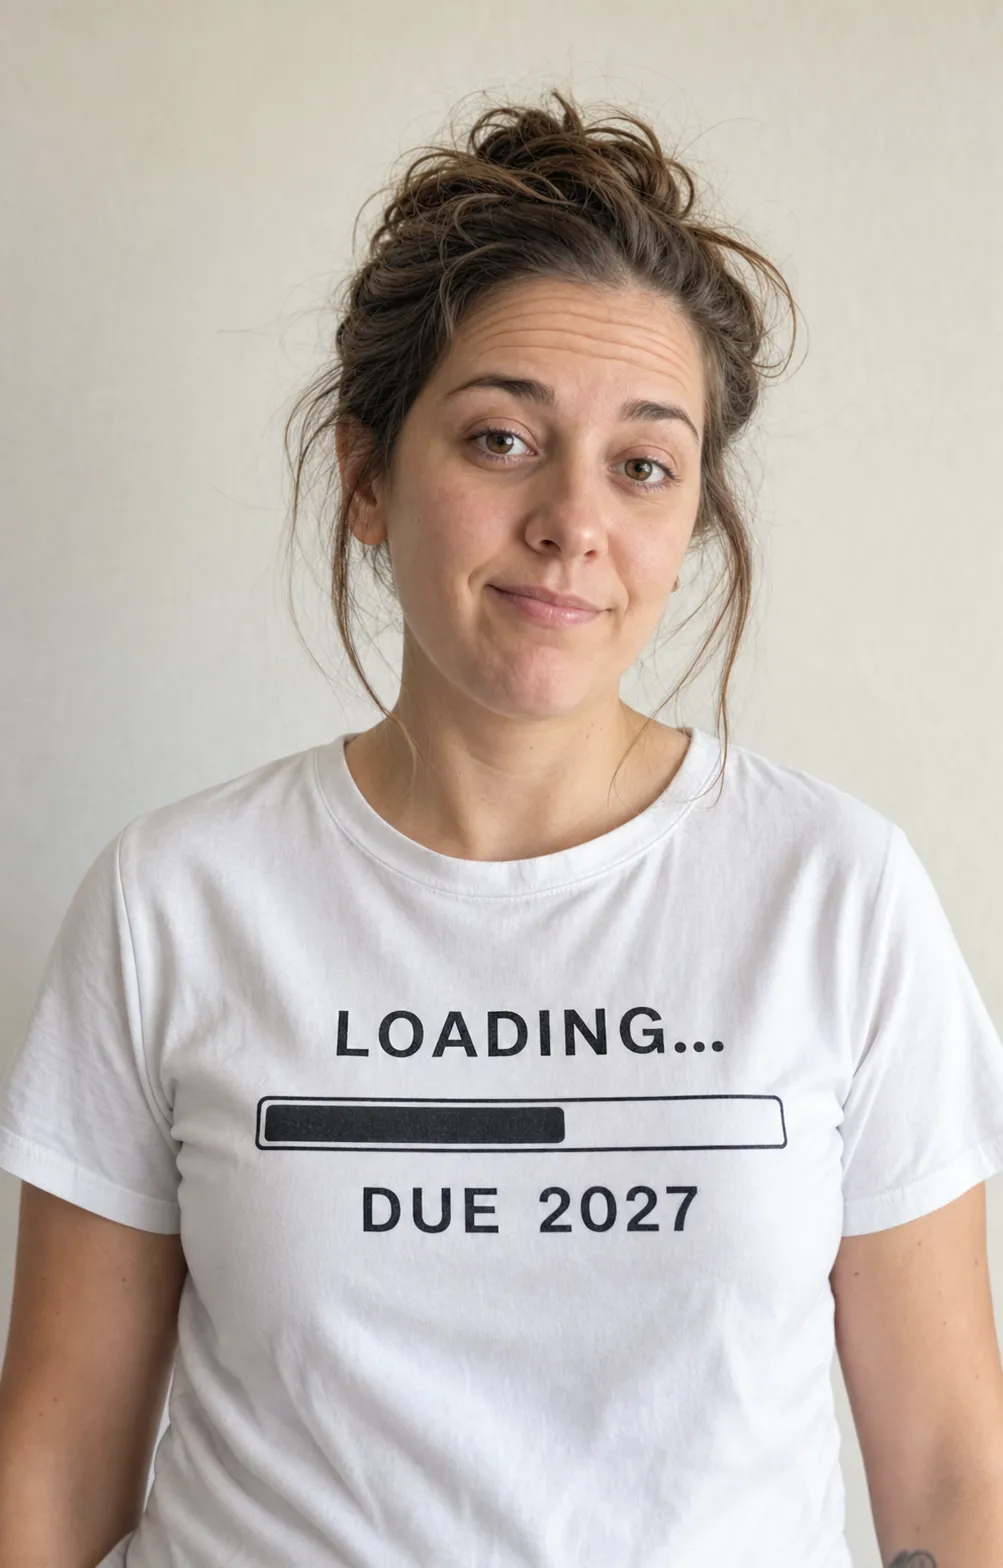
Once you know which one is yours, the rest is one repeatable recipe.
Step 2: Upload one clear photo. That’s the whole supply list
This is the part people overthink, so let me make it small. You need one photo. One. Clear, well-lit, front-facing, your whole face visible, not in heavy shadow or a tiny corner of a group shot. A normal selfie taken near a window beats a moody artsy one, because the tool needs to see what you actually look like before it can keep you looking like you.
One good photo beats ten mediocre ones. The thing that makes an AI announcement look like you and not a generic stranger is the quality of that single reference, and it’s the same discipline behind doing a whole AI photoshoot from one selfie: give it one honest photo, and it has something true to anchor to.
If the vibe you picked is a flat-lay or a gender-reveal card with no faces, you can skip even this, because there’s nobody to keep faithful. Everyone else: one photo, and you’re holding the only raw material every version is built on.
Step 3: The one move that makes it look real
Here’s the whole trick, and it’s smaller than you’d think. Two habits.
First, lock your identity. When you write the prompt, you tell the tool, in plain words, that matching your real face is the highest priority: don’t slim, don’t beautify, don’t “improve.” That last word is the trap. When an AI photo goes wrong, it’s almost always because the model quietly “beautified” you, sanding your skin into wax and drifting your jawline into a stranger’s. We get into exactly why that happens in why AI images look fake, and the fix is the one I’m describing right now.
Second, be concrete about the scene and the texture. Don’t say “beautiful.” Say “real pores, real knit fabric, soft window light from the left.” Concrete words give the tool something to hold; pretty adjectives give it room to invent, and invention is where you get the plastic look. That’s the entire idea behind our anti-plastic image method: describe what skin and fabric actually do, and the result stays a photo instead of a wax figure.
You can see the difference in one pair. Same scene, same chalkboard. The only thing that changed is whether identity-lock and real-texture words were in the prompt.
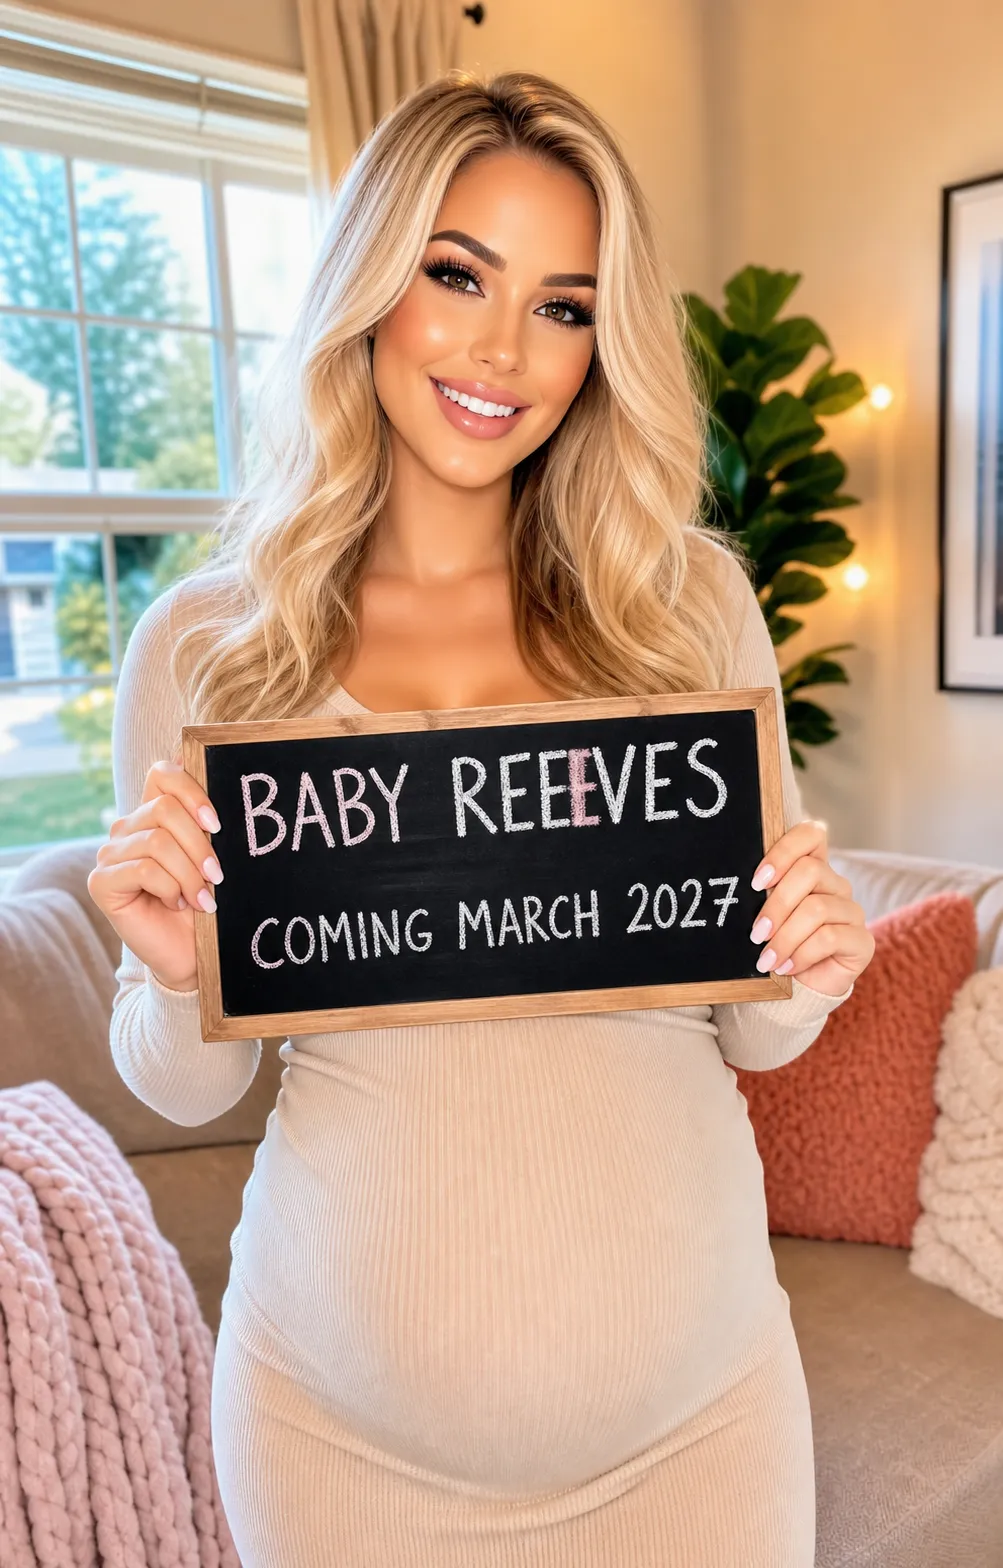
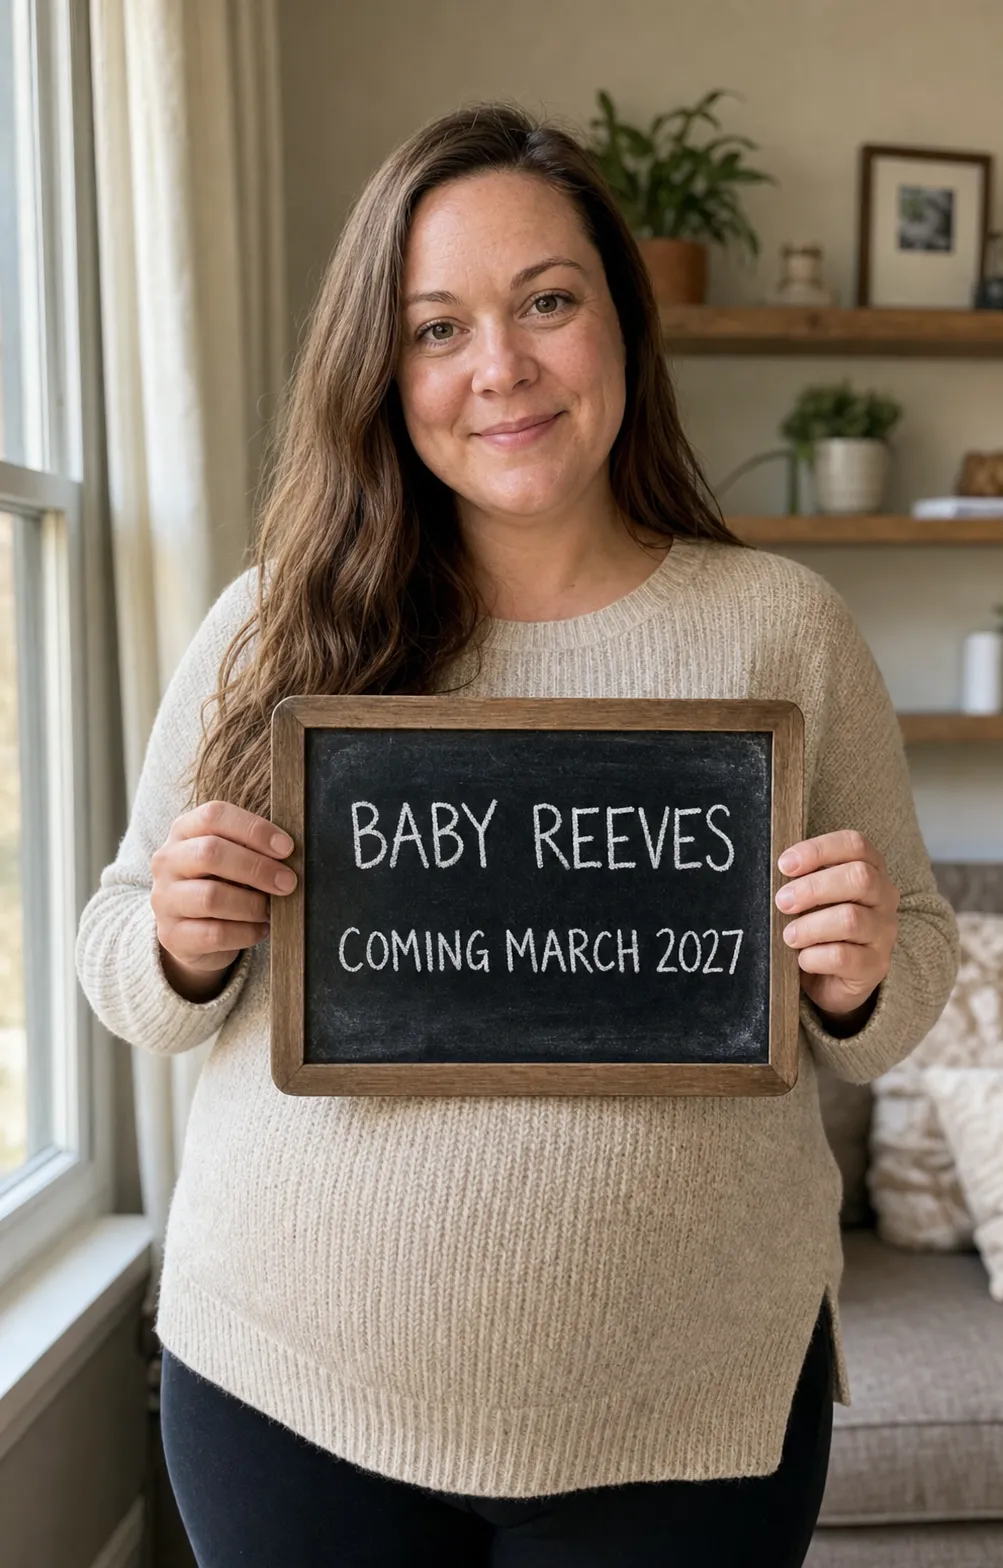
So here’s the skeleton. Paste it, swap the one scene line for whichever vibe you want, upload your photo, and you’re done.
Show the full promptTap to expand
Paste this into your AI (ChatGPT, Claude, Gemini, …).
REQUIRED upload before pasting: one clear, well-lit, front-facing photo of your face (or your child, or your dog).
Swap two lines for each vibe: {SCENE} (what the photo shows) and {TEXT} (any words on a sign or card). Pick {ASPECT} 4:5 for a feed post or 5:7 for a printable card.
Generate this image:
A single photoreal {ASPECT} pregnancy announcement, identity-locked to my uploaded photo. Match my exact face shape, eye shape, skin tone, and hair; do not beautify, do not slim, do not generalize the face. The scene: {SCENE}. Shot at eye level with an 85mm-equivalent portrait look, shallow depth of field, soft natural window daylight from the side with a real catchlight in the eyes. Warm, candid, genuinely happy mood. Any sign or card text reads exactly “{TEXT}”, spelled correctly in clean lettering. Render real skin texture with visible pores and natural softness, and real material texture in fabric, paper, and props; no AI plastic glossy skin, no waxy over-retouch, no over-smoothing, no beauty filter. Single {ASPECT} image, no grid, no contact sheet.
Rules the AI must follow:
- Identity preservation is the highest-priority constraint: I must be recognizable as the same person in my uploaded photo
- Render “{TEXT}” exactly as written, spelled correctly, English Latin script, with no garbled or duplicated letters
- Realistic skin and material texture: no porcelain smoothing, no plastic skin, no waxy over-retouch
- Single image only, no contact sheet, no grid, no before/after split
- Output the image directly without explaining the prompt back
Replace these placeholders with your details:
{ASPECT}= 4:5 portrait for an Instagram post, or 5:7 for a printable card{SCENE}= me holding a small chalkboard sign in a cozy living room{TEXT}= Baby Reeves, Coming March 2027
Bonus tips. To change the whole vibe, change only the {SCENE} line: “me in profile by a window, one hand resting low, flowing neutral dress, no sign” for the editorial look, or “me against a plain wall in a white tee that reads the joke” for the funny one. The face, the lighting, and the texture rules stay exactly the same. That’s why one upload gives you a dozen different announcements.
That’s it. The chalkboard, the editorial shot, the funny tee: they’re all this one block with a different scene line. I keep a copy in my notes and just change two lines.
Want one short, paste-ready AI move like this in your inbox every week? That’s the whole idea of our newsletter: sign up and you also get a free starter kit of copy-ready prompts to play with on day one.
Step 4: Spell-check the words, then post
One last thing, and it’s the only real QA step. The face stays right far more reliably than the lettering does, so the only thing you have to actually check is the text on any sign or card. AI still occasionally garbles a letter, doubles a word, or invents a stray mark. Read your “Baby [Name]” and “Coming [Month]” lines out loud against the image. If a letter is off, re-run the prompt or fix the word and go again; it takes one more pass.
Then post it. And before it goes public, do the offline version too, because the people who most want to be first usually aren’t scrolling your feed. Take the flat-lay, print it as a card, and mail it to the grandparents, or text the reveal straight to their phone the night before. The same image does double duty: the thing your feed sees and the thing Grandma puts on the fridge.
On timing, that’s genuinely personal, and I won’t pretend there’s a rule. The common tradition is to wait until the end of the first trimester, around 12 to 13 weeks. According to the American College of Obstetricians and Gynecologists, early pregnancy loss happens in about 10 percent of clinically recognized pregnancies, and roughly 80 percent of those losses occur in the first trimester. That’s where the “wait until twelve weeks” advice comes from. The parenting site The Bump notes that plenty of people tell close family early specifically so they have support if something goes wrong, while others wait until the 14-week mark. Both are right. Tell the people you’d want beside you whenever you’re ready.
FAQ
Q: How do you make your own pregnancy announcement?
A: Pick a vibe first, then do four things: upload one clear, well-lit photo of your face, tell the AI image tool that matching your real face is the highest priority, describe the scene in concrete words instead of pretty adjectives, and spell-check any sign or card text before you post. That’s the whole method, and it runs from one phone photo with no photographer.
Q: Can you do a pregnancy announcement without a photographer?
A: Yes. A maternity or announcement session runs roughly 250 to 800 dollars just for the shoot and often books weeks ahead, according to photography cost guides. With one clear photo and an identity-lock instruction, you can make the same kind of reveal at home the same night, for the price of an AI image tool you may already pay for.
Q: How do you tell grandparents you’re pregnant?
A: Make it personal and offline-friendly. Take the flat-lay version of your announcement, print it as a card, and mail it, or text the reveal straight to their phone the night before it goes public. Grandparents love being first, and they love something they can stick on the fridge.
Q: When should you announce your pregnancy?
A: It’s personal, but the common tradition is to wait until the end of the first trimester, around 12 to 13 weeks. According to the American College of Obstetricians and Gynecologists, most miscarriages happen in the first trimester, so many people wait until that risk drops before telling a wide circle. Plenty announce earlier to family for support. There is no wrong answer.
Q: What if the AI makes the announcement look fake?
A: It looks fake for one reason: the model “beautified” the photo, sanding the skin into plastic and quietly drifting your face. The fix is to make identity-lock the top instruction and to describe real texture, real pores, real fabric, instead of using the word “beautiful.” Concrete words give the tool something to hold; pretty adjectives give it room to invent.
Key Takeaways
- Making your own pregnancy announcement is one repeatable method: pick a vibe, upload one photo, run one identity-lock instruction, spell-check, post.
- One clear photo plus an identity-lock instruction replaces a 250-to-800-dollar maternity session you’d otherwise book weeks out. For the bump-shoot poses themselves, see maternity photo ideas and poses.
- The one move that makes it look real is telling the tool to match your face and describing concrete texture instead of the word “beautiful.”
- Spell-check any sign or card text in the result; the face stays right far more reliably than the lettering does.
Just make it tonight
You wanted to announce it the day you found out, and to have it look like you meant it. The photographer you didn’t book and the design app you didn’t want to fight were never the gatekeepers. Pick the vibe that’s yours, run your one photo through the recipe, check the words, and put it up tonight.
If you’d rather not build the prompt from scratch, the full set of announcement prompts, the flat-lay, the sign, the gender reveal, the dog, and the rest, lives in our Image Prompt Pack, copy-ready.